Magallon Made Innovations
Switch Pros Control Mount ( 1996 - 98 4Runner ) - MMI
Switch Pros Control Mount ( 1996 - 98 4Runner ) - MMI
Couldn't load pickup availability
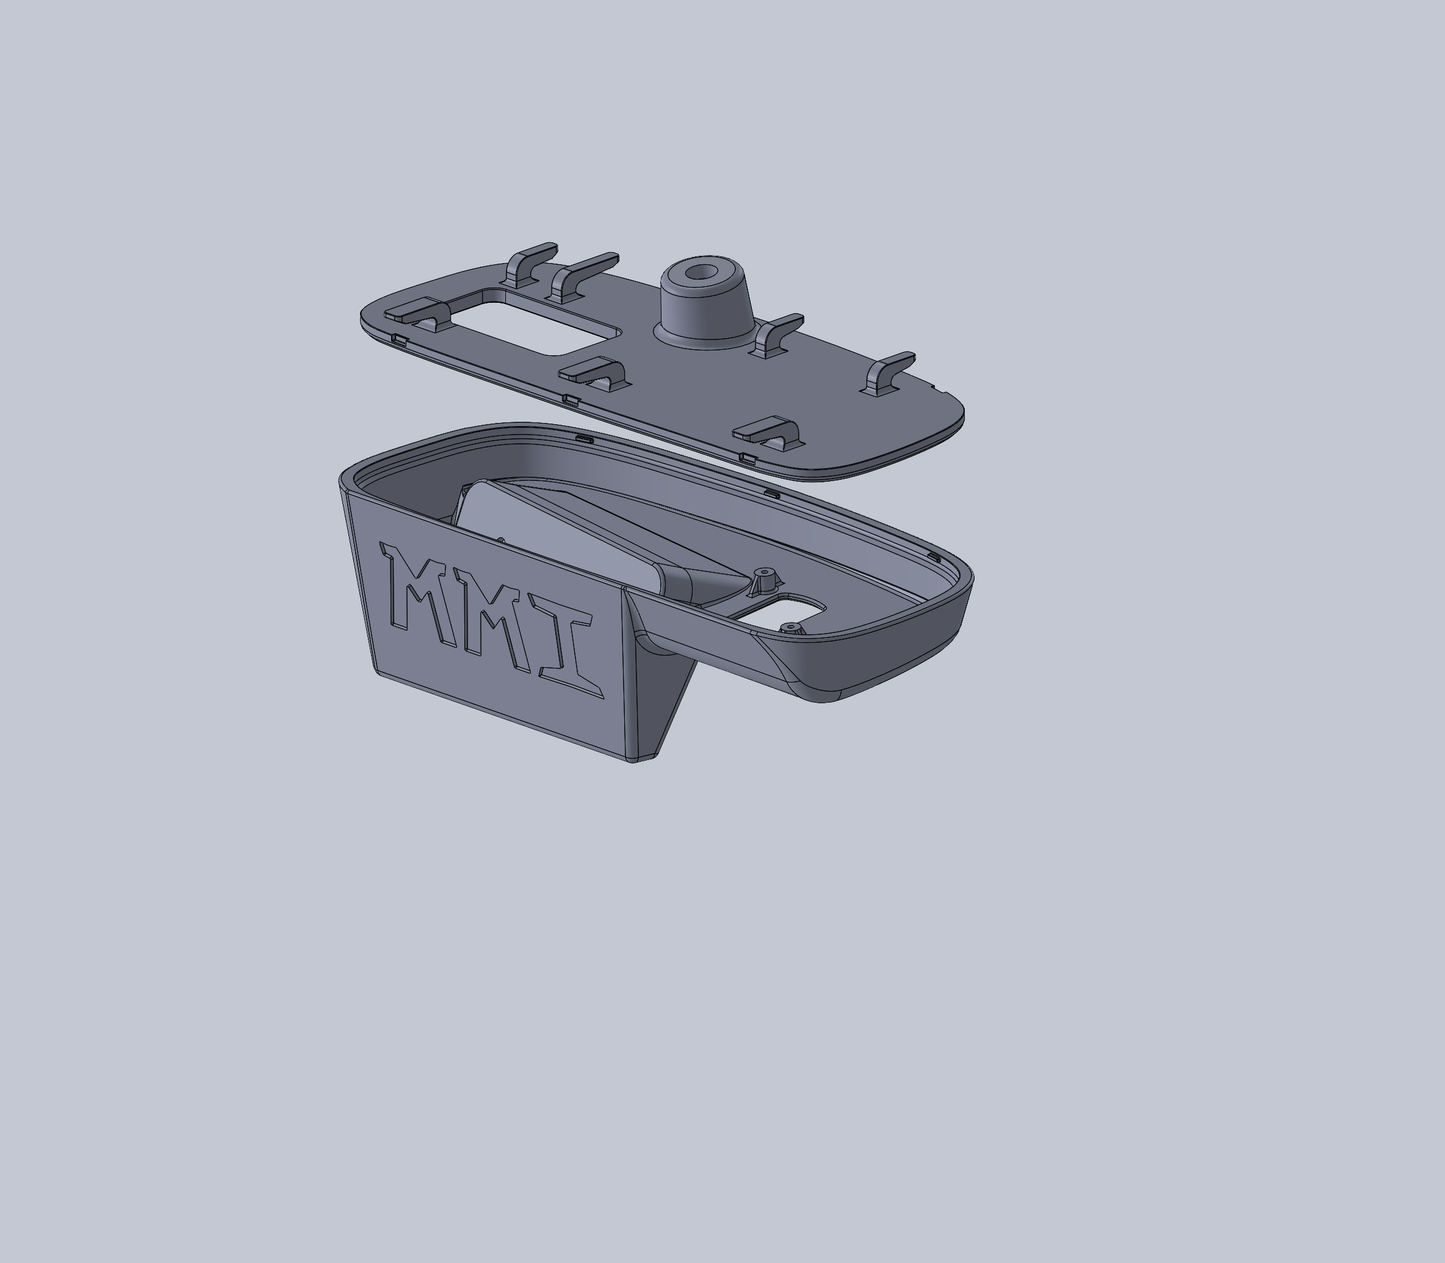
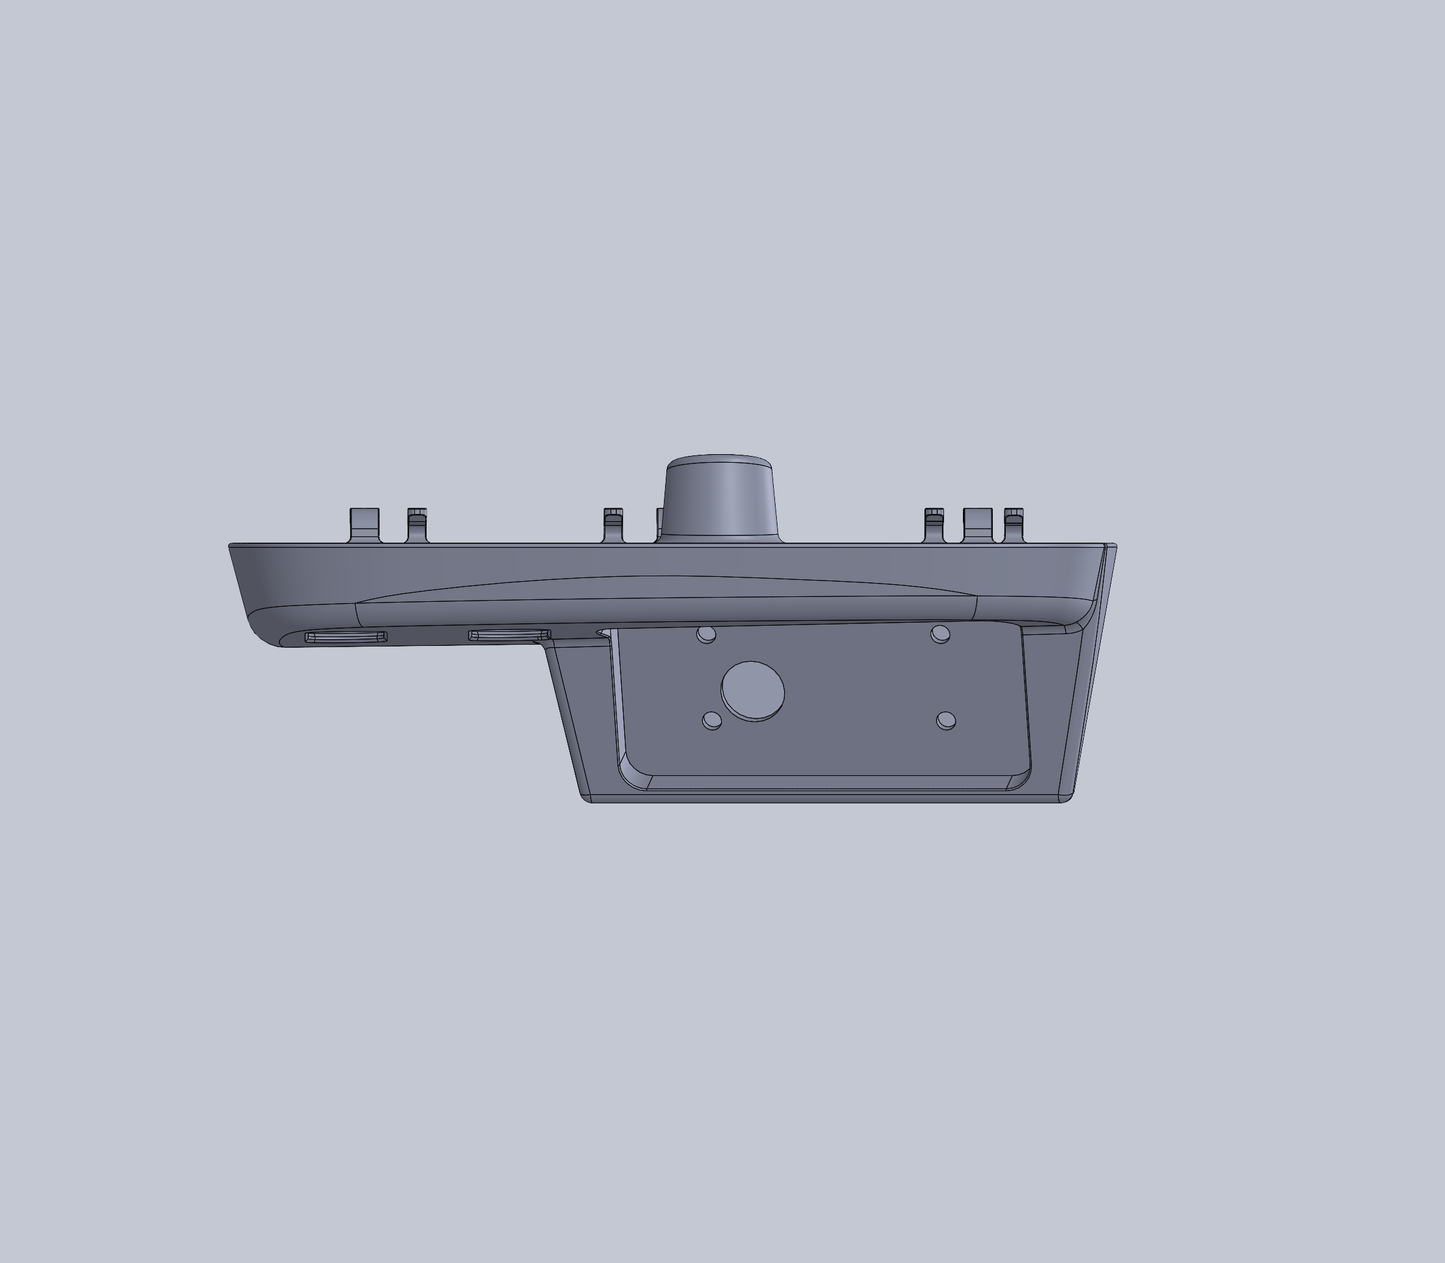
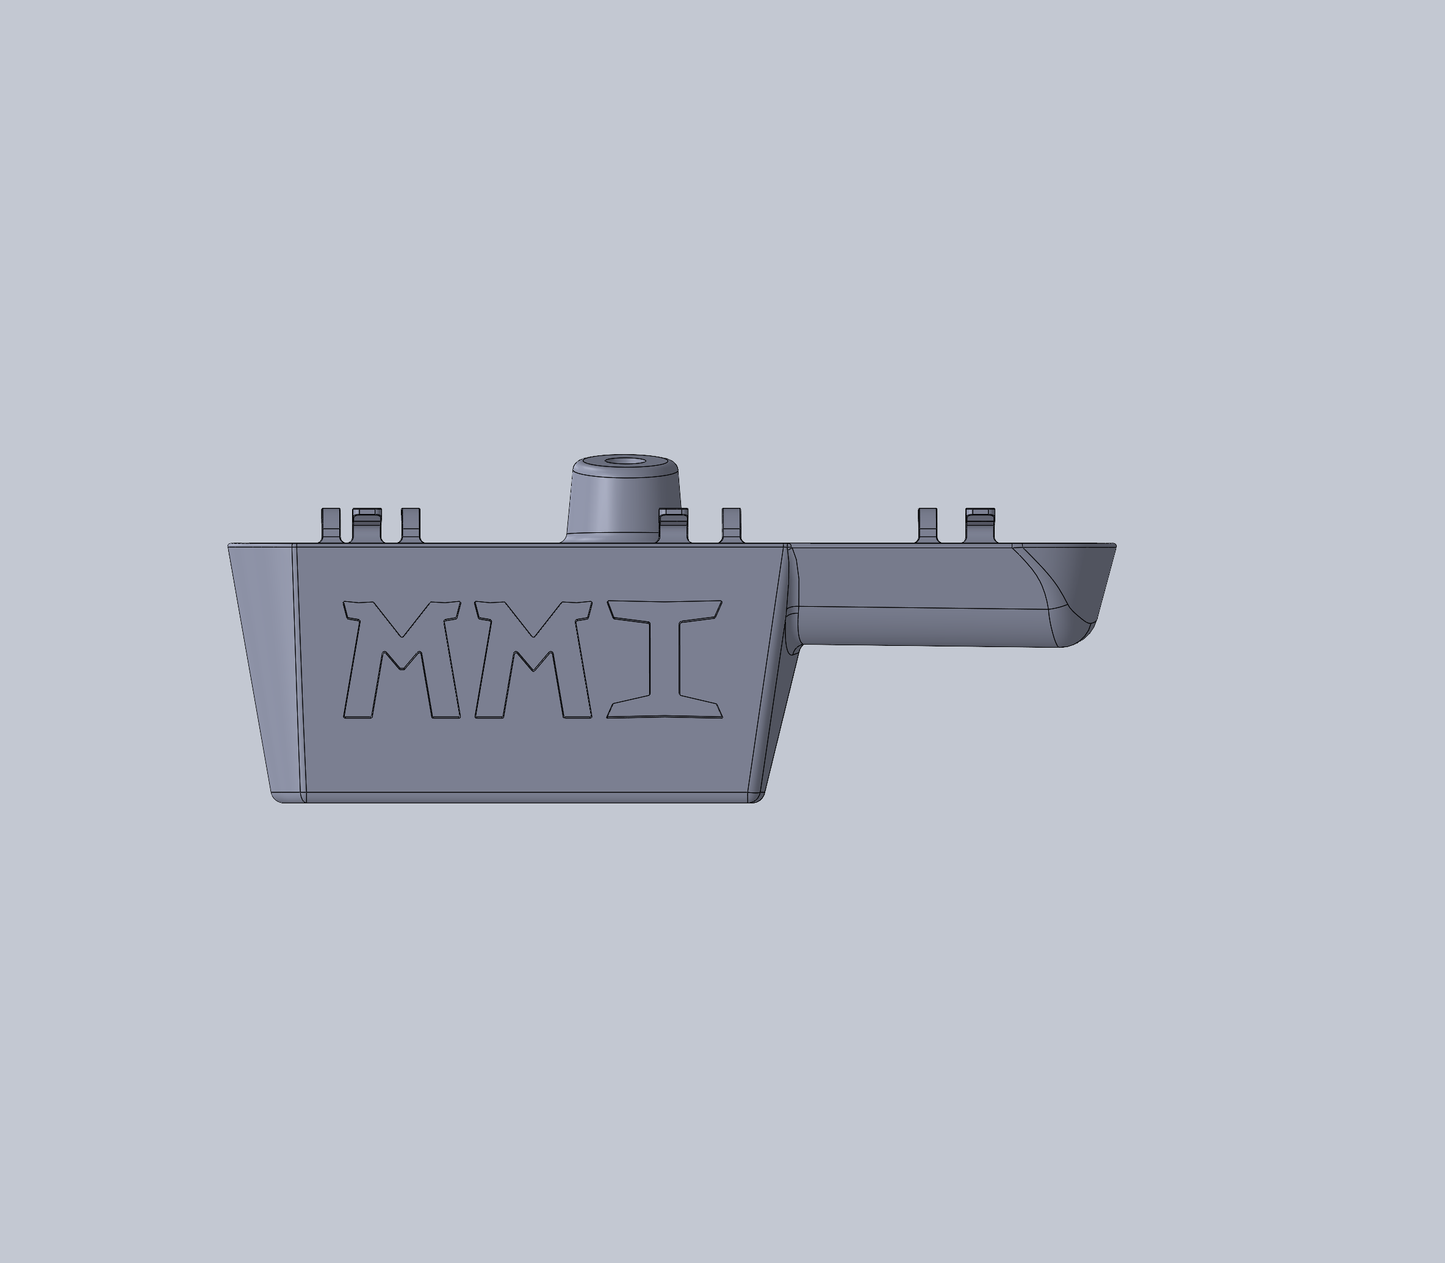
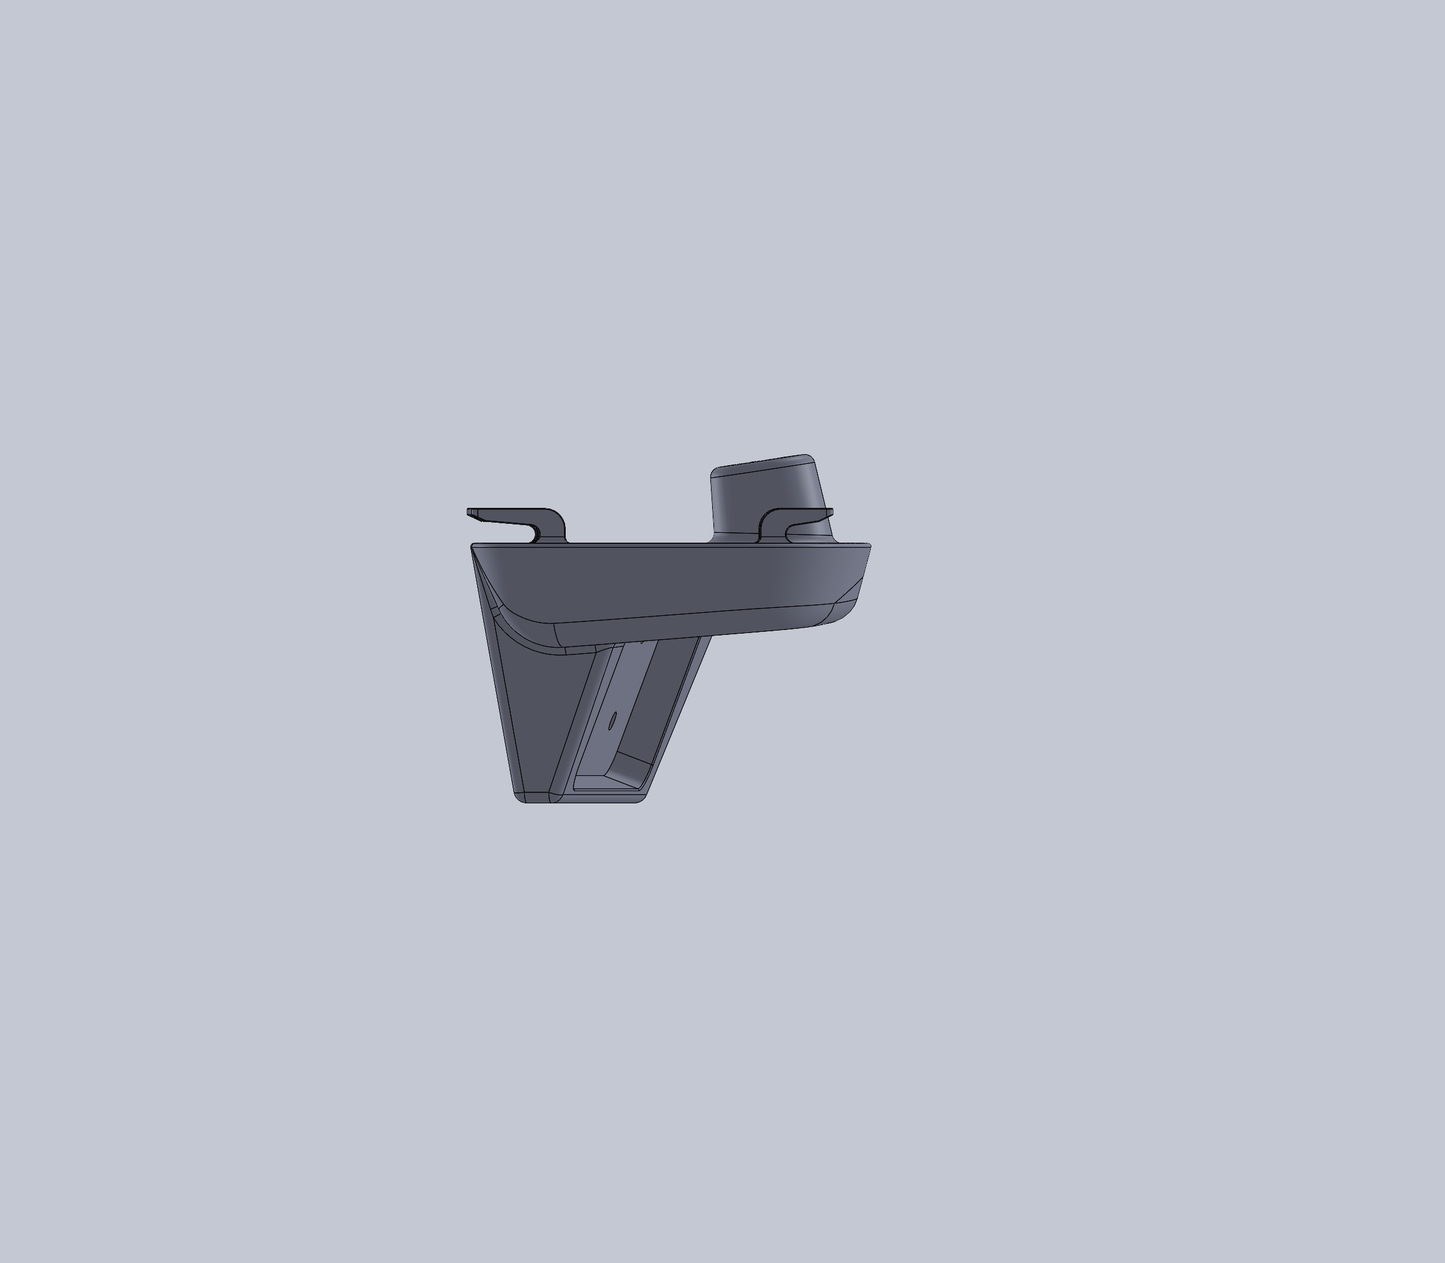
Elevate your off-road adventures with our innovative 3D printed switch mount, designed to seamlessly integrate the Switch Pro control panel into your vehicle's interior. Replacing the factory sunroof control bezel, this mount ensures a factory-like feel while providing centralized control for all your essential off-road accessories, including lights, lockers, compressors, and more. Engineered for durability and reliability, this mount enhances both functionality and aesthetics, empowering you to navigate rough terrain with ease and confidence.
Note: Please be aware, all components are FDM printed which may result in small variations and minor cosmetic blemishes. Rest assured, each part undergoes thorough inspection to uphold the highest quality standards. Thank you for your understanding.
Installation Directions:
1. Remove Factory Sunroof Bezel:
Locate the factory sunroof bezel attached to the headliner. Remove the single bolt securing the bezel in place. Carefully slide the bezel to one side to access the mounting points, then tilt it out to remove it from the headliner.
2. Remove Sunroof Control from Sunroof Bezel:
Once the bezel is separated from the headliner, locate the sunroof control unit within the bezel. Disconnect all electrical connections associated with the sunroof control unit, then remove the unit from the bezel.
3. Install Factory Sunroof Control into Top Plate:
Place the factory sunroof control unit into the designated location on the top plate of the switch mount. Utilize the factory hardware to secure the sunroof control unit in place, ensuring a tight fit and proper alignment.
4. Install Switch Pro Controller into Top Plate:
Insert the Switch Pro controller into the designated slot on the top plate of the switch mount. Ensure that the controller is securely positioned and aligns properly with the surrounding area.
5. Slide the Base Plate into Position:
Tilt and slide the base plate of the switch mount into the headliner and aligning it with the factory mounting points. Use the factory hardware to secure the base plate in place, ensuring a secure and stable installation.
6. Route Switch Pro Electrical and Reconnect Factory Connections:
Carefully route the electrical wiring from the Switch Pro controller through the designated channels in the switch mount. Reconnect any factory electrical connections that were previously disconnected during the installation process, ensuring all connections are secure and properly seated.
7. Snap the Top Plate to the Bottom Plate:
Once all components are properly installed and connected, snap the top plate of the switch mount to the bottom plate to conceal the wiring and provide a finished look.
8. Enjoy:
With the switch mount securely installed and all components properly connected, you are now ready to enjoy enhanced control over your off-road accessories. Hit the road and take your off-road adventures to the next level with ease and convenience.
Share


